If you’ve ever wanted to bring a warm, flickering fire to life using just your phone and a bit of creativity, this tutorial is for you. With Alight Motion, even a basic matchstick can become the centerpiece of a dynamic, glowing fire animation. In this guide, we’ll walk you through each step—from designing the matchstick to adding realistic flames, texture, and even glowing sparks.
Whether you’re animating a cozy campfire or an intense blaze for a dramatic scene, let’s get started!
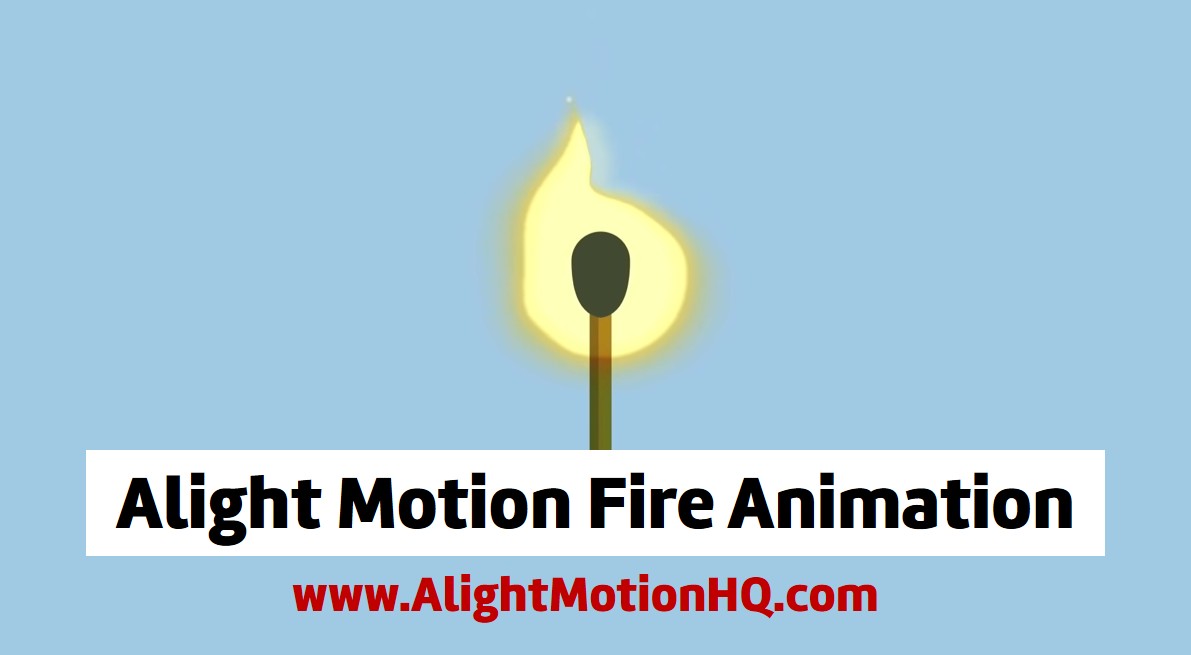
Step 1: Building the Matchstick
We begin with a blank canvas, just a simple background. Let’s design the matchstick that will ignite our animation:
- Draw the stick: Add a rectangle, make it long and thin, and choose a dark brown or wooden tone.
- Add depth: Duplicate the rectangle, lighten the color slightly, make it a bit wider, and offset it to one side. This adds a sense of lighting and definition.
- Add the match tip: Insert a teardrop shape, color it black, rotate it 180 degrees, and resize it to form the tip.
- Group everything: Select all these layers and group them. Name this group “Matchstick” for easy navigation later.
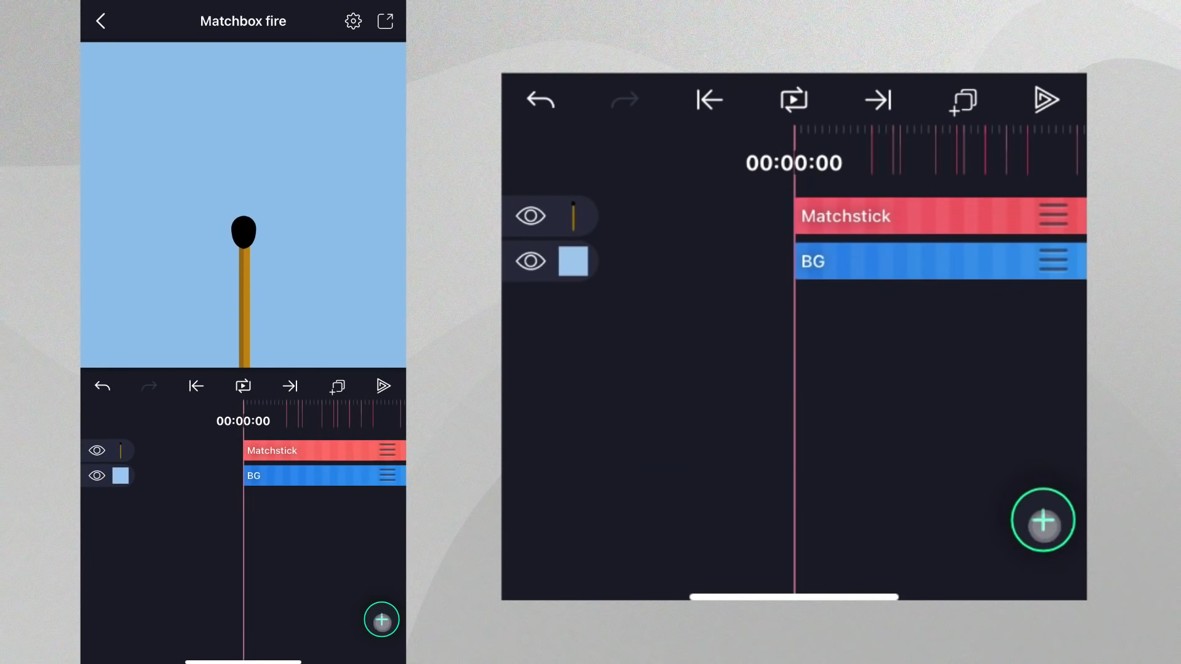
Step 2: Creating the Flame
Now let’s light that match:
- Add another teardrop: This will act as the base shape for the flame.
- Shape the flame: Modify its properties to make it longer and narrower at the top—something that resembles the natural flick of a fire.
- Color it in: Use warm hues—deep orange or yellow—and name the layer “Fire.”
- Layering: Move the fire shape below the matchstick to create a realistic alignment.
- Blend mode: Set the matchstick to Multiply under “Blending & Opacity” to let the flame shine through while darkening the unlit areas.
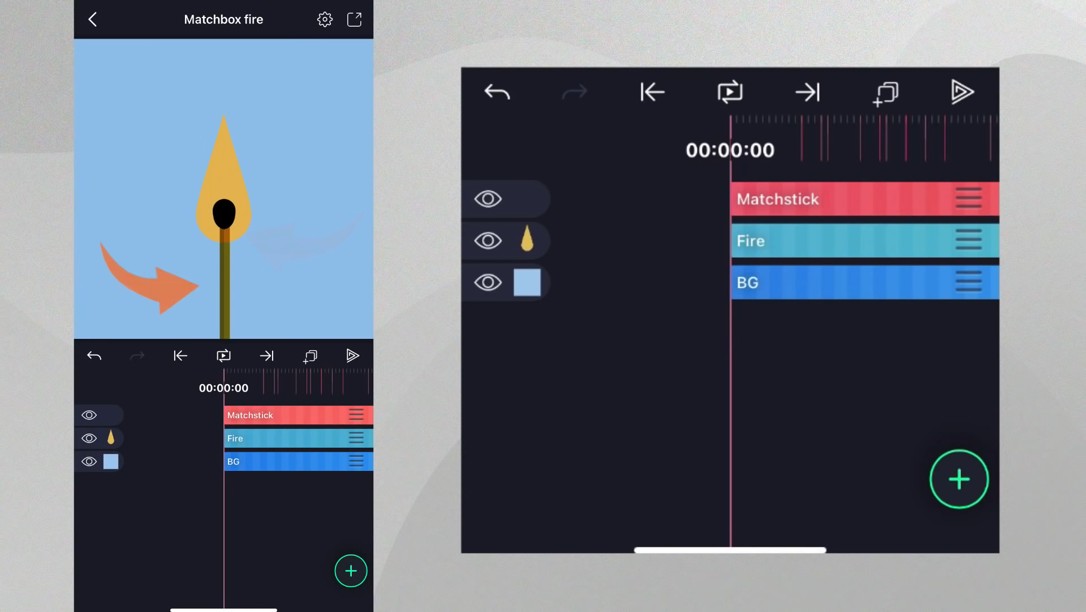
Step 3: Animating the Fire Flicker
It’s time to bring your flame to life:
- Animate the tail: Use keyframes to change the “Tail” property of the teardrop shape over time.
- Looping the motion: Set a keyframe at the beginning, one at the middle (with the tail reduced), and one at the end (same value as the start). Add easing presets for smooth transitions.
- Add wave motion: Go to Effects > Distortion Warp > Wave Warp. Reduce the angle and magnitude so the motion is gentle.
- Phase animation: Animate the Phase value from 0 to 1 to make the waves flow in a loop.
- Dynamic spacing: Animate the Spacing property so the waves fluctuate—this creates a dancing effect.
- Stabilize the base: Under Damping, reduce wave intensity at the bottom, letting the top flicker while the base remains steady.
Step 4: Adding Sideways Sway (Swirl Effect)
Fires don’t just move up and down—they sway:
- Add the swirl effect from the Distortion Warp category.
- Tweak the strength: Reduce it slightly to prevent harsh movement.
- Animate it: Set keyframes at the beginning and end. In the middle, reverse the swirl direction slightly.
- Add easing: Apply soft easing presets for a natural back-and-forth motion.
Step 5: Adding Texture and Glow
Now that the movement looks good, let’s make it feel hot:
- Glow: Add the Glow effect from the Drawing and Edge category. Adjust:
- Color: Orange or yellow.
- Radius and Hardness: Find a balance between glow and sharpness.
- Alpha: Lower for subtler glow.
- Light Rays: Use the Rays effect under Color and Light. Boost the Length and Intensity for a dramatic, radiant look.
- Colorize: Apply a Colorize effect for a consistent warm tone across the flame.
Step 6: Creating Sparks
No fire is complete without glowing embers. Let’s create those magical sparks:
- Add a circle: Shrink it, stretch slightly, and color it orange or yellow.
- Trim the spark: Shorten its duration to just 1 second.
- Scatter them: Apply the Scatter Repeat effect to duplicate the spark across the screen.
- Adjust the Radius and Scale so the sparks look randomly scattered.
- Animate movement:
- Evolution: Animate from 0 to a higher value for subtle shimmer.
- Offset (Y): Animate upward for rising sparks.
- Fade out: Near the end of the spark layer, drop its Opacity to 0 so the embers gently disappear.
Final Touches & Play It Back
With all those layers, effects, and animations combined, you now have a dynamic, looping fire animation that looks alive and full of energy. From subtle waves to glowing sparks, every little detail adds realism and magic.